Brief
In teams create a 1:1 scale template replicating a motorcycle fuel tank. once created create an aluminium skin that adheres to a third of its contours.
Process
Step 1 - Choose desired fuel tank you would like to replicate, and take as many photos possible at a wide range of angles. Note: The more photos and angles the more closer the replica will be.
Step 2 - Next is you will need to have sufficient skills in the program Rhino. To allow the tank to be modelled in Rhino and ins step 3 the tank was measured so that sizing was correct.
Step 3 - The next stage is to transfer the model into slicer for fusion 360 which is a program that slices the 3D model into individual parts. firstly the file needs to be exported from Rhino as a STL file. The dimensions set for our fuel tank sheets in slicer was 400x800mm.
Step 4 - In total we had 16 segments which were to be cut onto three 400x800mm plywood sheets 3mm thick. Export the file to illustrator to laser cut the skeleton.
Step 5 - Using illustrator set the thickness you want your skeleton connecting cuts to be, initially our group chose it to be 3mm but this was too thin and a re-cut at 3.05mm was required.
Step 6 - Once all the pieces of the template is laser cut its time to assemble it. Using the numbers and letters etched into each piece start piecing together the template.
Note: Our group found it quite helpful to use a couple of pieces in one axis then once a solid frame is built start placing all the opposite axis on leaving the small pieces to the end.
Step 7 - Once the template is assembled we decided to give it extra strength by gluing each joint on the template on both top and bottom.
Note: ensure that when gluing the tank template is straight as there is a chance it may shift and not be aligned/skewed one way.
Step 8 - While gluing the group decided to cover the template in masking tape which created a surface that wrapped around the template, this combined with the applied glue gave the template a solid base to form the sheets around. The masking tape was placed in both directions of the template with the whole tank being covered in the end.
Step 9 - Next step is to create an outline of the section that you will be moulding, what we decided to do was wrap the template in paper and draw our sections onto the paper. There were multiple ways which the group was going to split the tank but in the end it was decided to have split the tank longitudinally with the left and right pieces being symmetrical. Once the sections were drawn on the paper these were cut and then transferred onto the aluminium sheets.
Step 10 - Using either tin snips or the lever shear cutter, cut out your piece staying tight with your marked out line on the sheet.
Note: Once the piece is cut out it is advised to ensure that all the edges are filed and any sharp pieces on the edge of the sheet are removed, this can be an annoyance when moulding the sheet to your desired shape and by doing this will also make the piece a lot nicer.
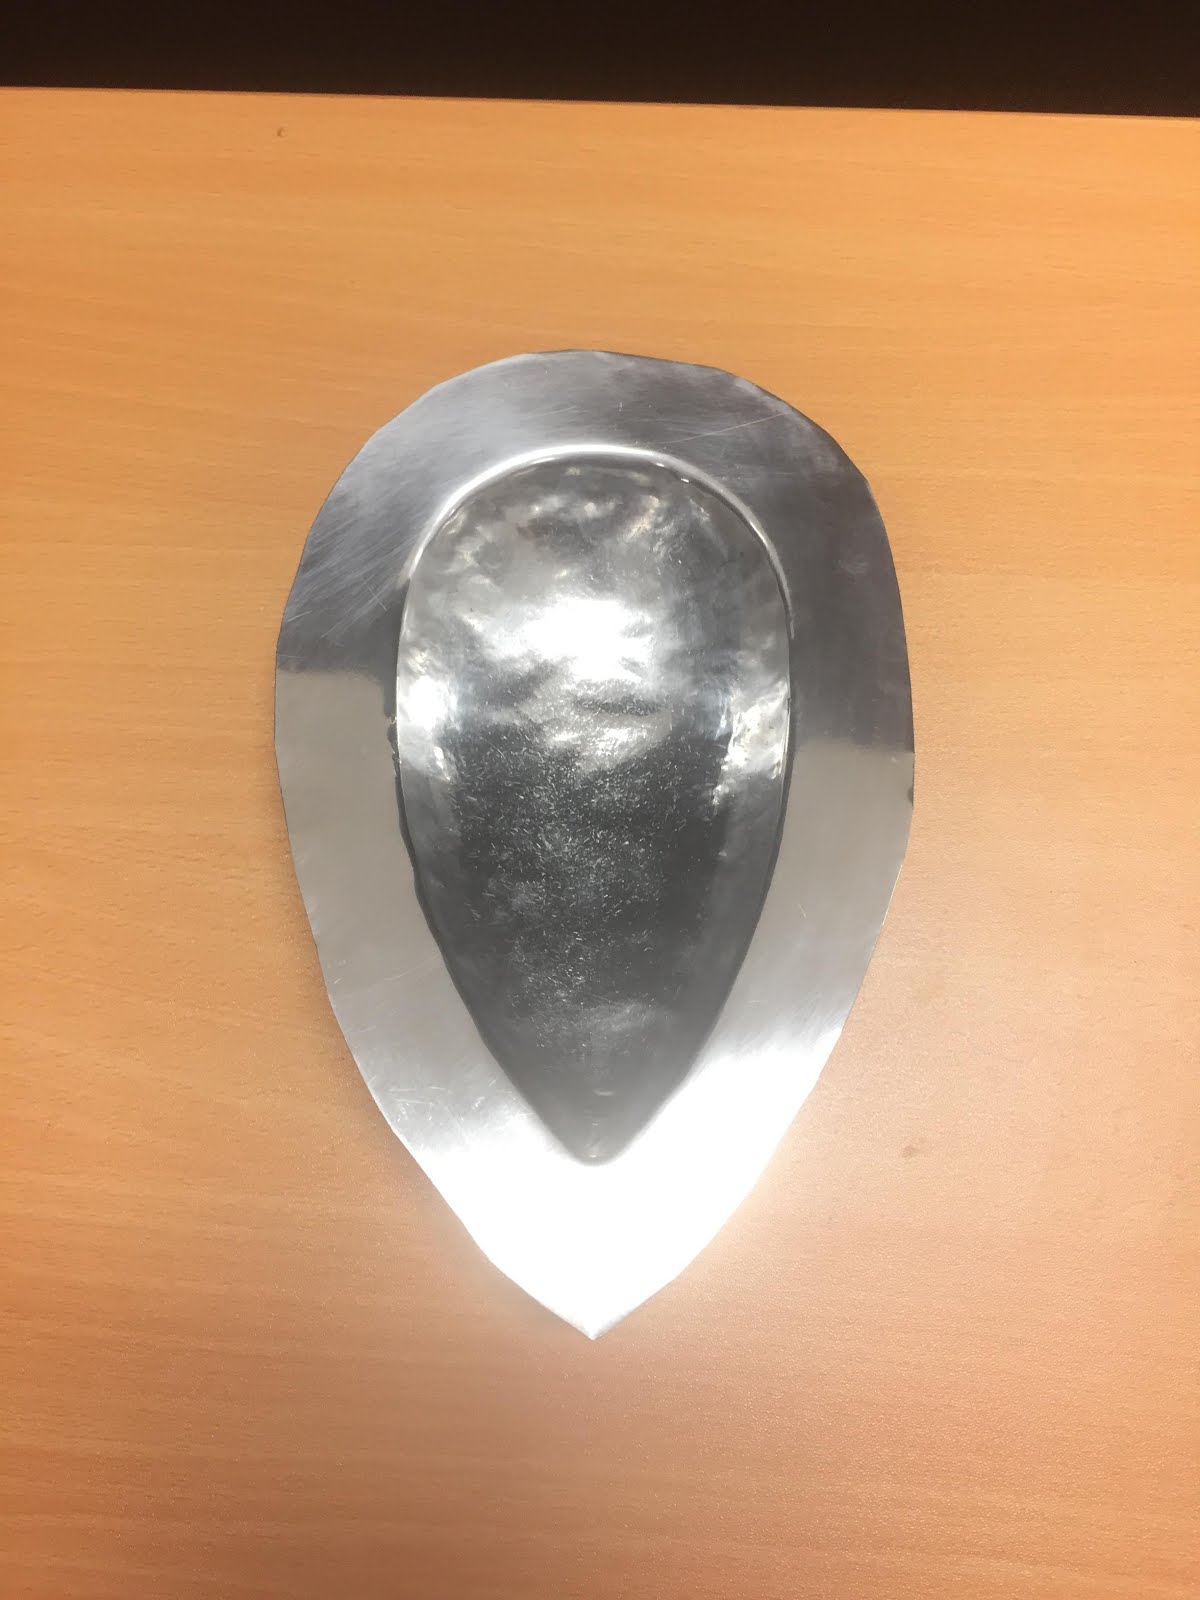
Step 11 - Now you should have 3 your aluminium sheets split into 3 parts, choose one which you will begin to mould.
The piece I was tasked to do was the middle piece of the tank.
Step 12 - Take your cut out piece to the aluminium roller and feed the sheet through the roller. The curve you are trying to create in this step is the long curve of the tank. Adjust the rollers angle and repeat this step until the curvature of your piece matches your part of the template.
Note: When rolling the sheet through ensure that you have both sides of the roller adjusted evenly, if not even your sheets curve will vary from side to side and be not symmetrical.
Step 13 - Next is to try and form the short curve of the your designated section. This step requires multiple tools and techniques which I will discuss. Please note that these techniques can all be used with no specific order needed to complete this step repeat the techniques below as required.
Technique 1 - Nylon mallet, small wooden mallet and sand bag
Using your mallet strike the sand bag to create a curve in it. Now place your sheet on top of the sand bag. Using the pointed end of the nylon mallet strike the of the sheet to create the curved lip of the piece. work your way around the sheet striking at even intervals with an even force. once completed using the small wooden mallet do the same thing but this time use the flatter more rounded edge of the small wooden mallet.
Technique 2 - English roller
To smooth out the piece whilst also create a desired curvature run the piece back and fourth through the English roller ensuring that the piece is rolled evenly.
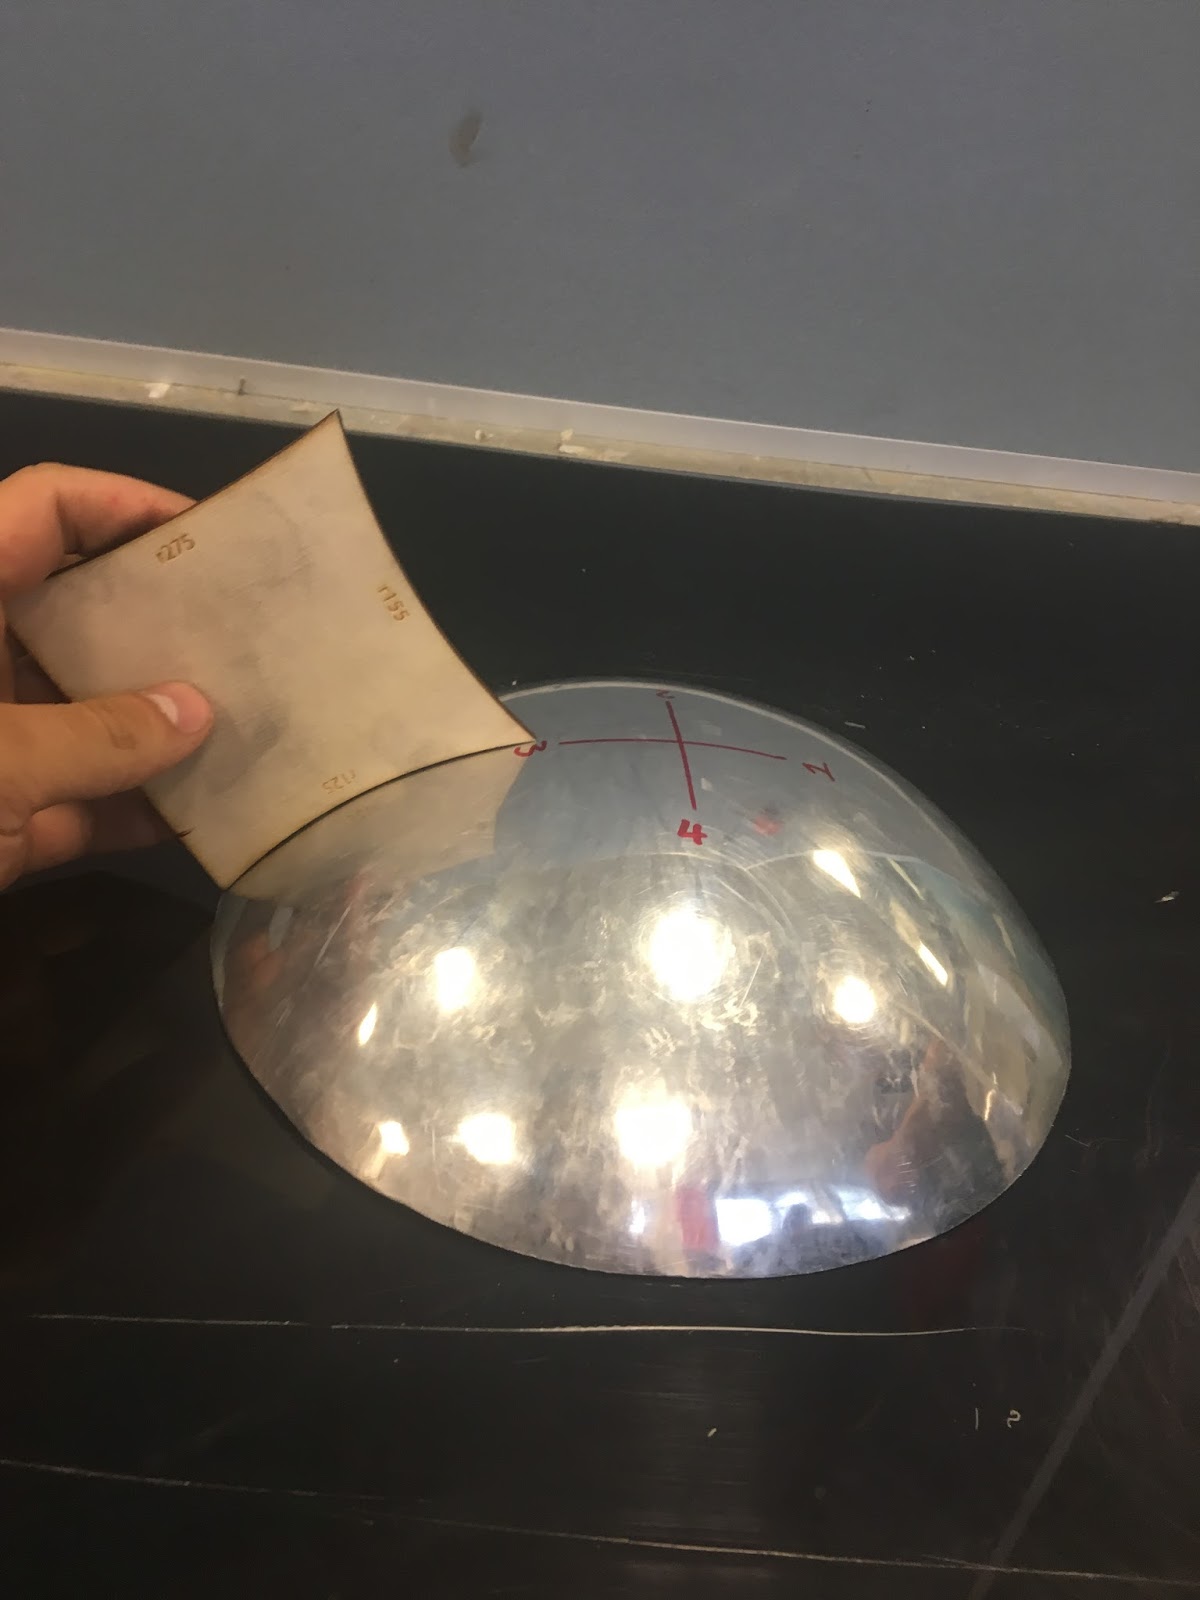
Technique 3 - Template and nylon mallet
Using the laser cut template place the piece on the template and use the nylon hammer to curve edges down flush with the template.
Note: By having the template glued and taped securely it was able to withstand the force of the mallet hitting it.
Technique 4 - Curved metal forms with mallet
To get a tighter curve on the edge your sheet place the edge on the curved metal form shown below. once on use the nylon mallet to strike the edge down and around the form creating a lip.
Note: You may notice that by completing step 9 you may have lost some of the shape you created in step 8 along the long curve of you sheet. To rectify this apply technique 1 down the middle of the long face of the sheet until your curve is back to where you need it to be.
Step 14 - Your sheet should now fit to the mould quite well with some of the edges potentially being to high or too long, If so use the shears to cut these back and get the edges flush.
Step 15 - Using methylated spirits and fine steel wool scrub the finished pieces to get a nice polished finish and to remove any dirt from the surface.
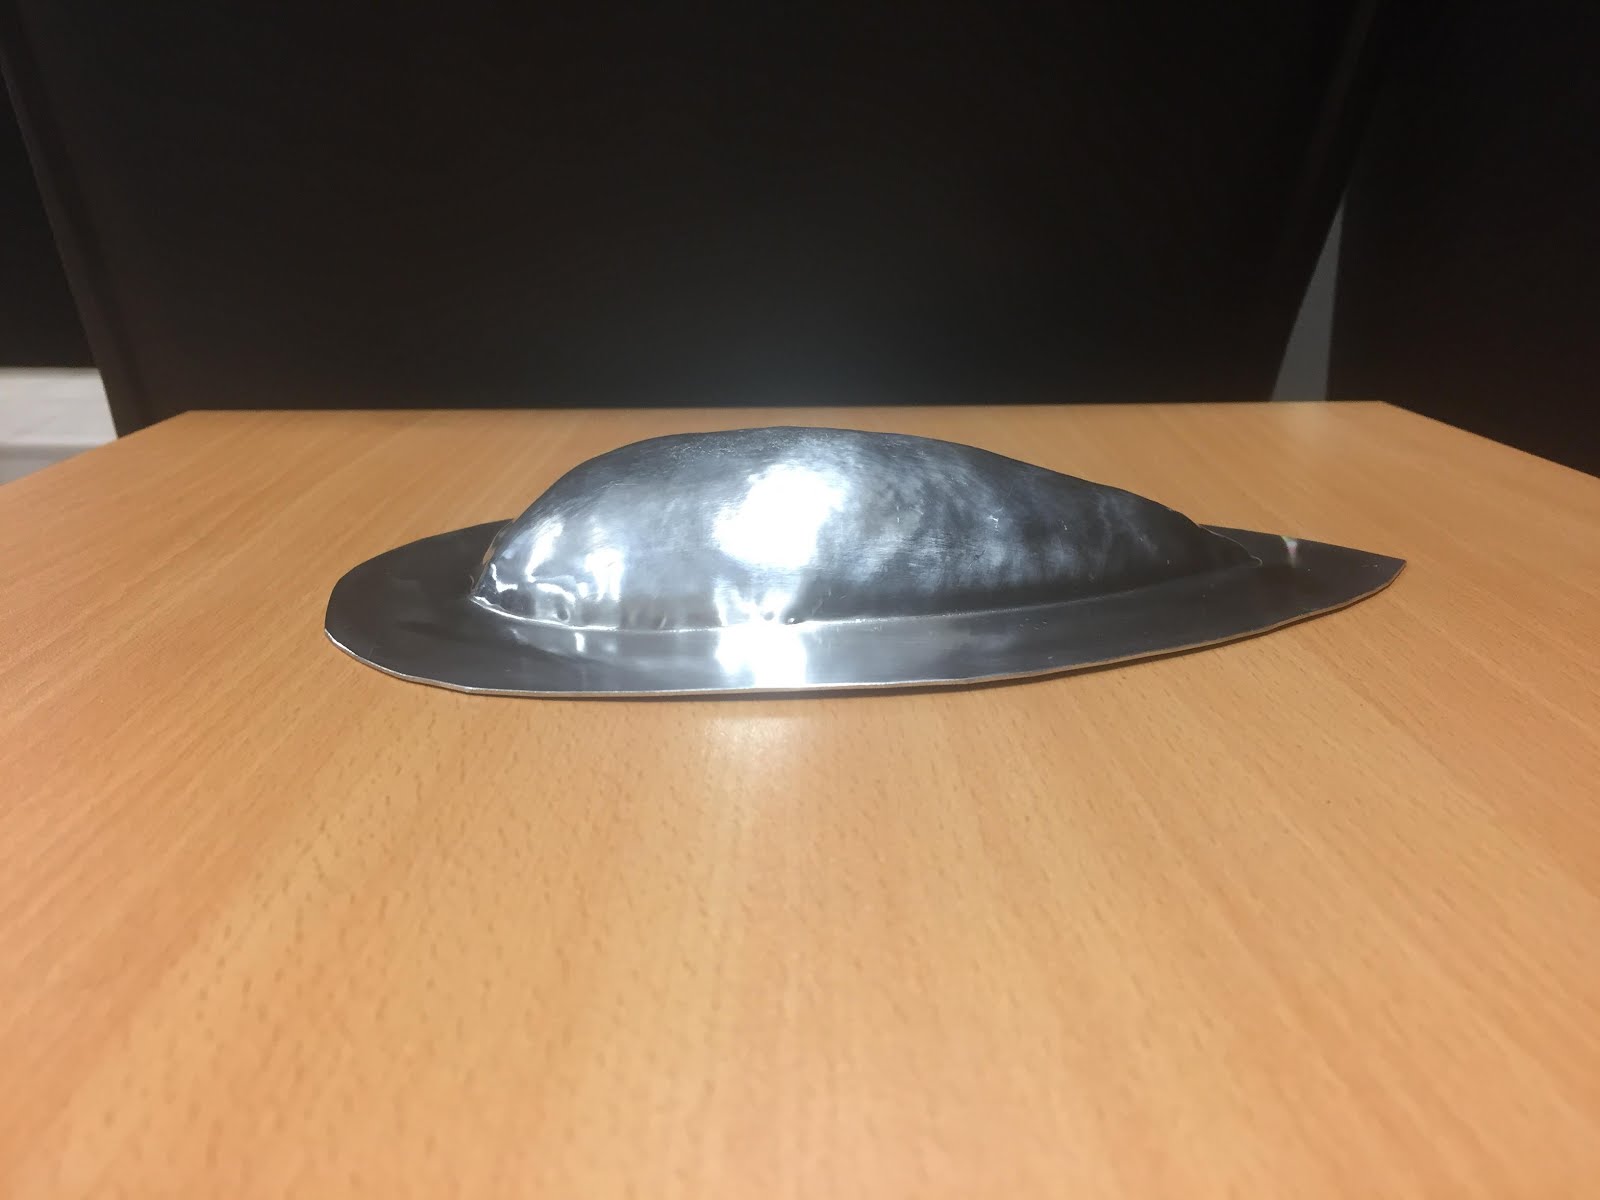
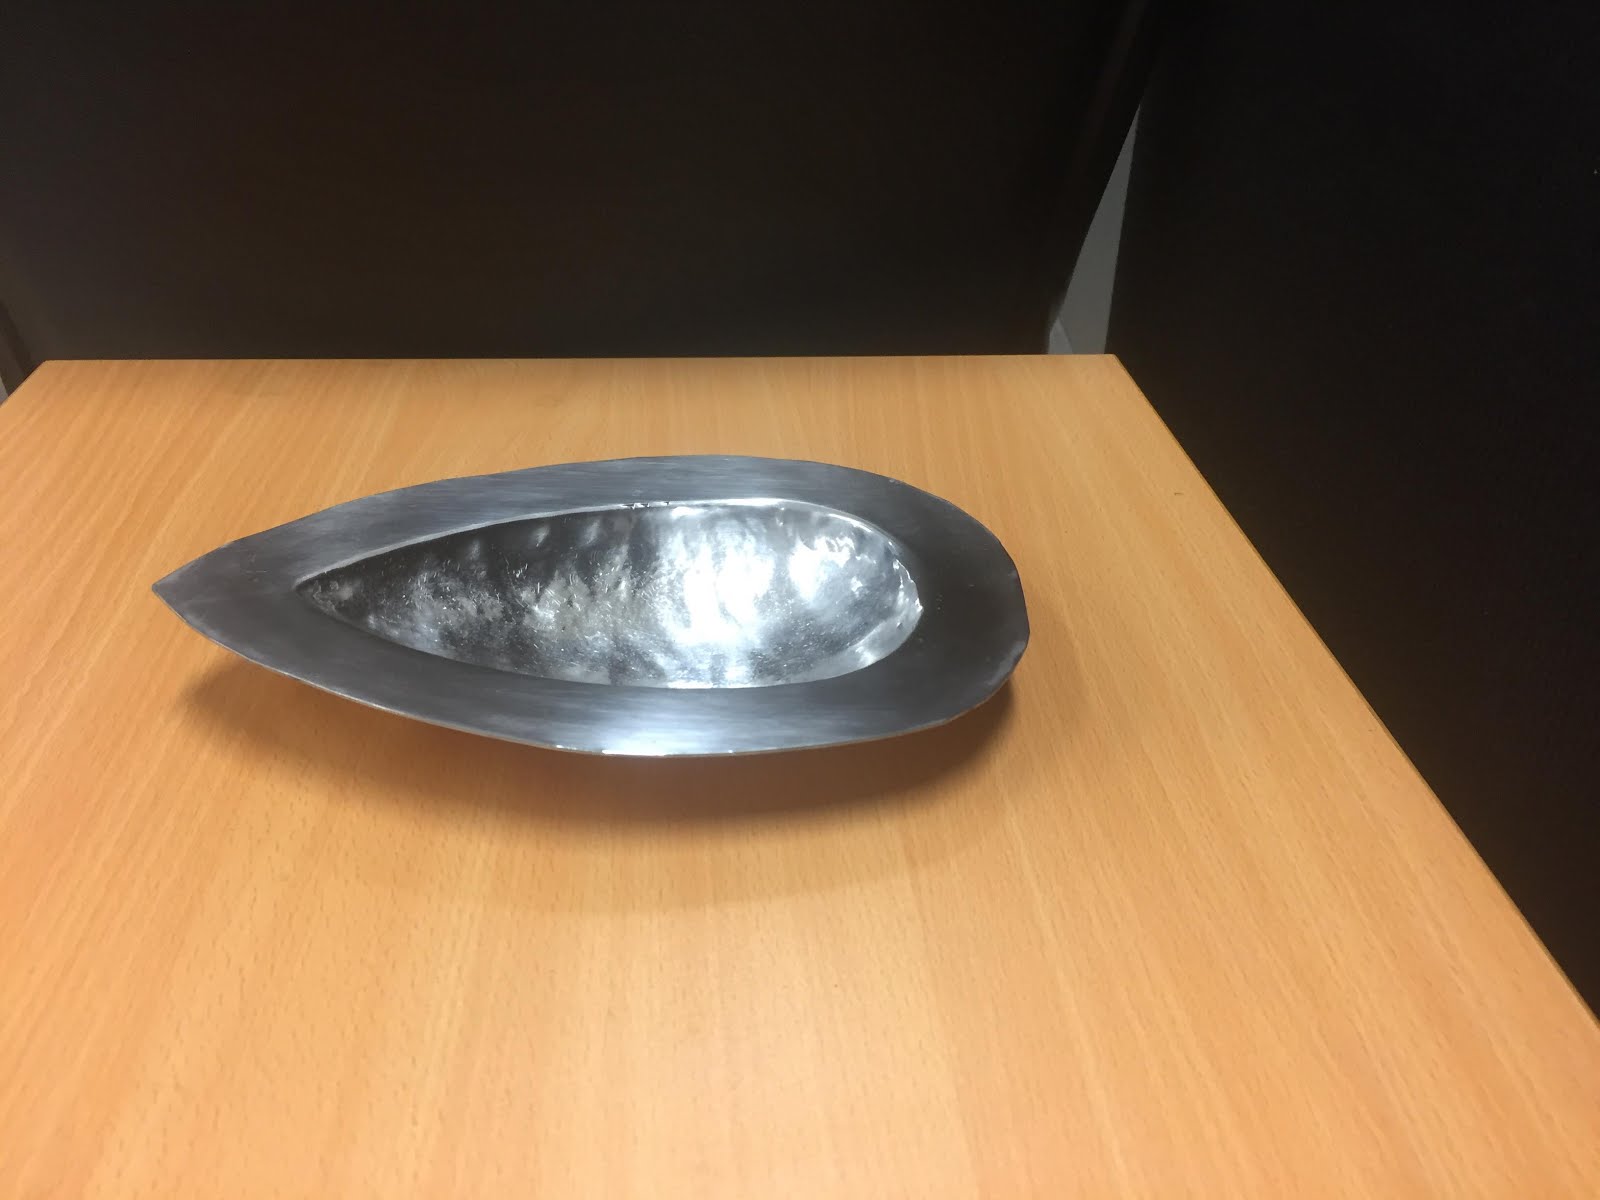
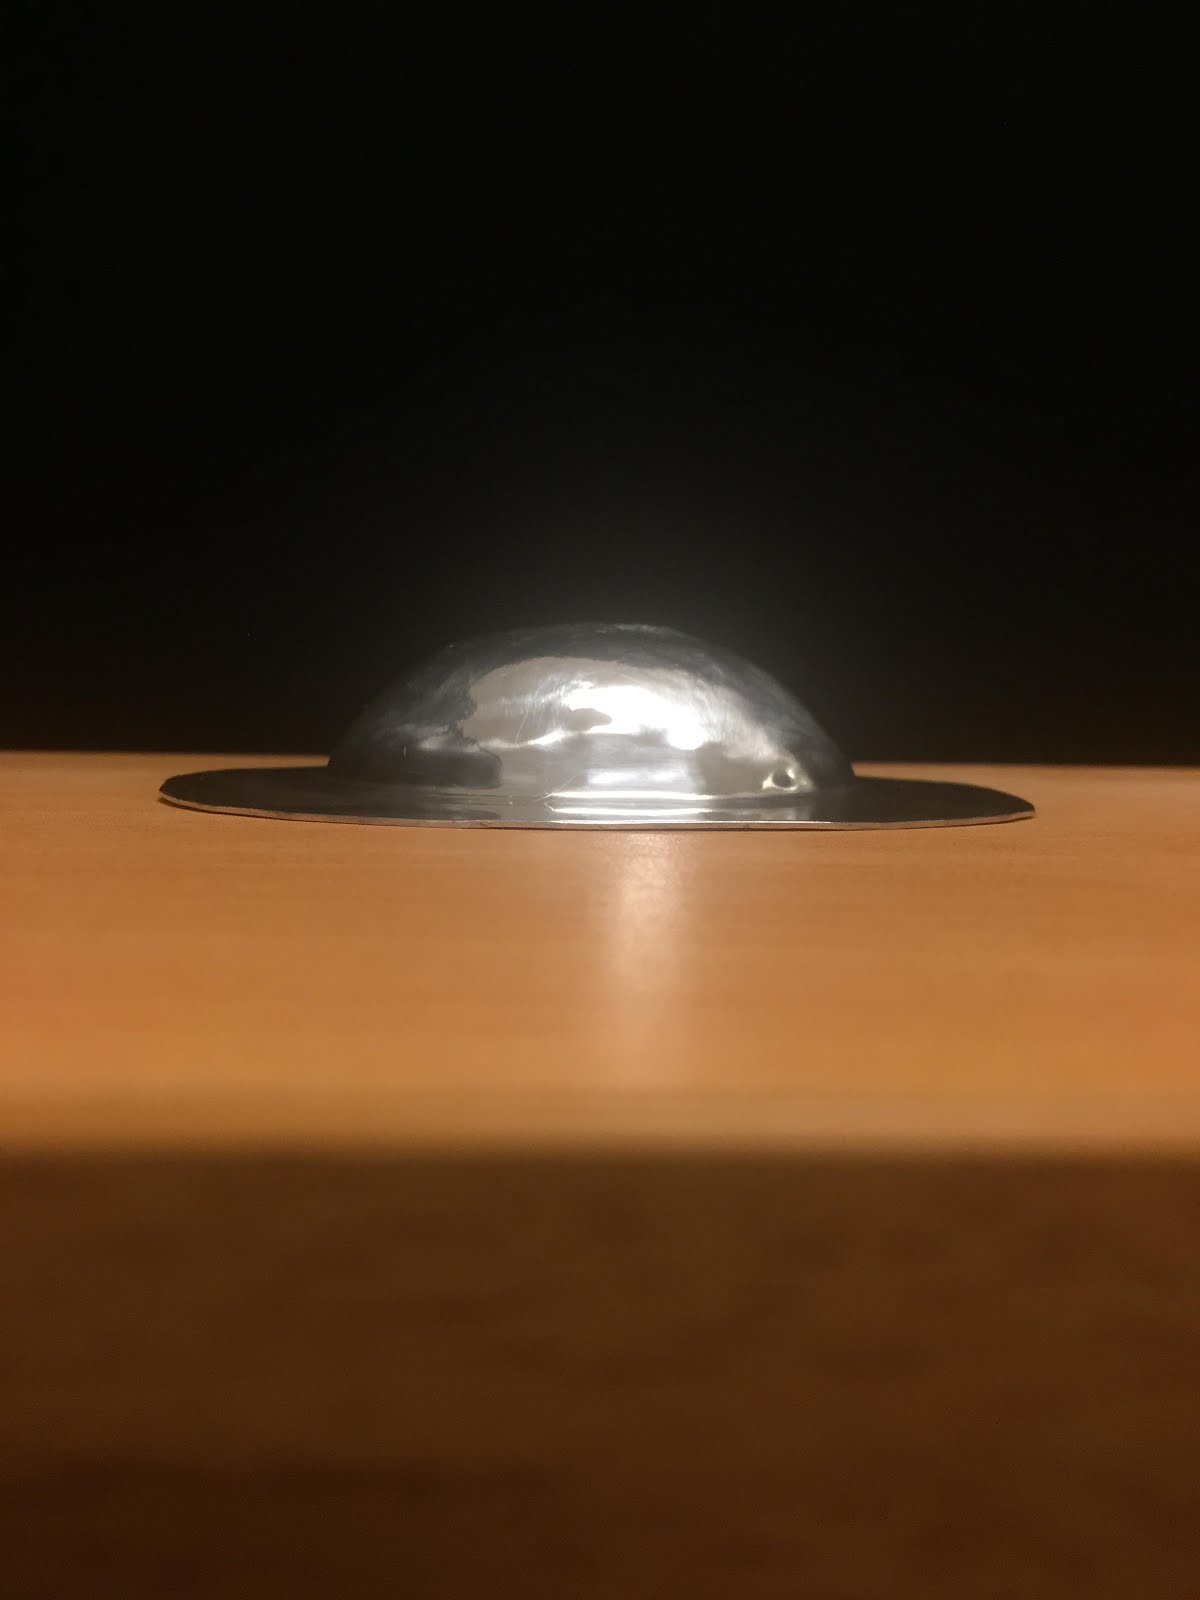
Pre polished piece
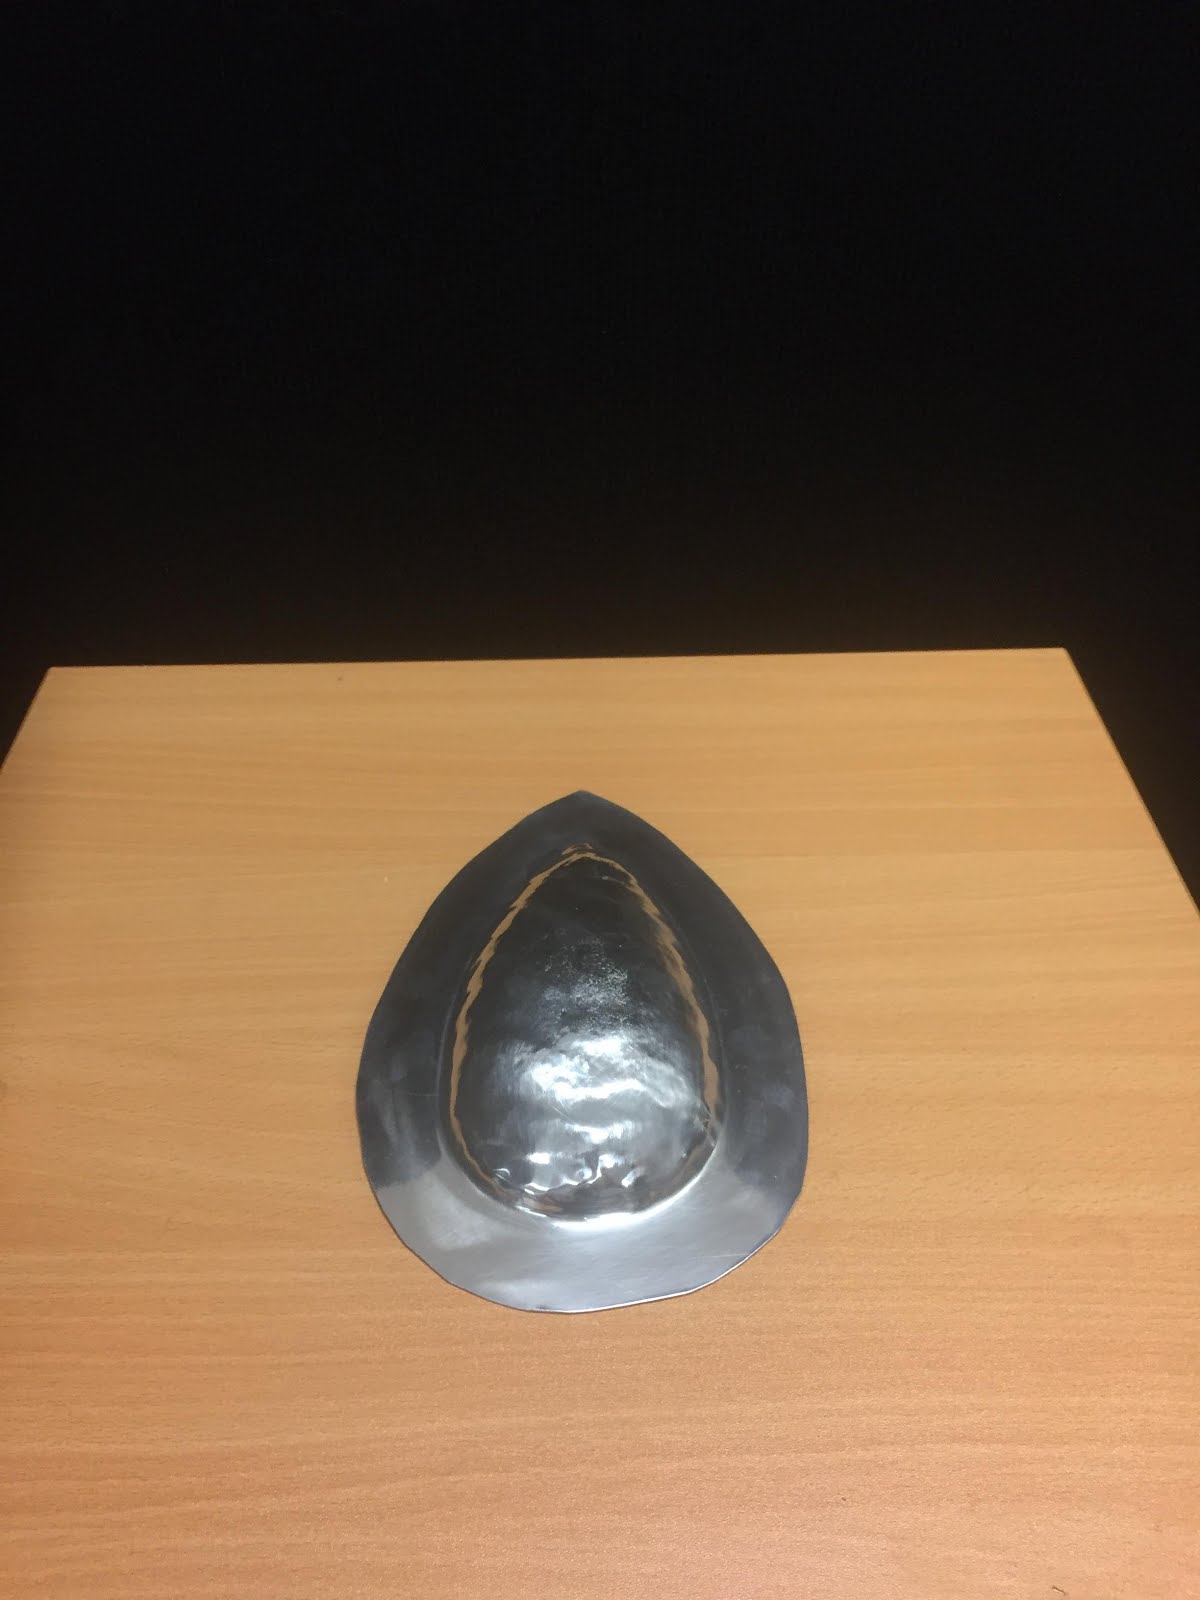
Final Product
Group members sections
When piecing all of the tank together the group came across issues involving the joints of the pieces. Along the edges the group as a whole found it hard curving the edges flush with the skin, this in turn meant that our pieces did not line up as well as we hoped.
Overall each individuals piece adhered to the skin of the fuel tank quite well as you can see from the pictures below.


